
Walks – create a walk
A Walk is a tour, trail or guide made up of stops (Locations) – usually 5–15.
What you need
Section titled “What you need”- A name for the walk (in every language it will be available in)
- A main image and a short description
- The stops: position, text, images and ideally audio – see Locations
- Optionally distance and duration, e.g. “2 km” and “45 min”
Create a walk – step by step
Section titled “Create a walk – step by step”- Open Walks → Create New.
- Basic Content tab:
- Slug – a technical name using lowercase a–z and digits, e.g.
sofo1400. - Display Name – the walk’s name in the app, e.g. SoFo in the 1400s.
- Media List – click Add Media Block → Image Block and choose the main image. The first image represents the walk in lists.
- Content Blocks – add a Text Block describing the walk. See Content blocks.
- Slug – a technical name using lowercase a–z and digits, e.g.
- Walk Specifics tab:
- Platforms – where the walk appears: App, WebApp and/or PlusApp (loan devices).
- Language Options – choose Enabled Languages and Default Language. See Languages.
- MetaInfo – fill in Distance and Duration.
- Children → Locations – link the walk’s stops (see below).
- Location (Map) tab – set the walk’s start position under Coordinates. It’s shown on the overview map. See Maps.
- Click Save Draft to save as a draft, or Publish changes to publish.
- Link the walk to the app – see Show the walk in the app.
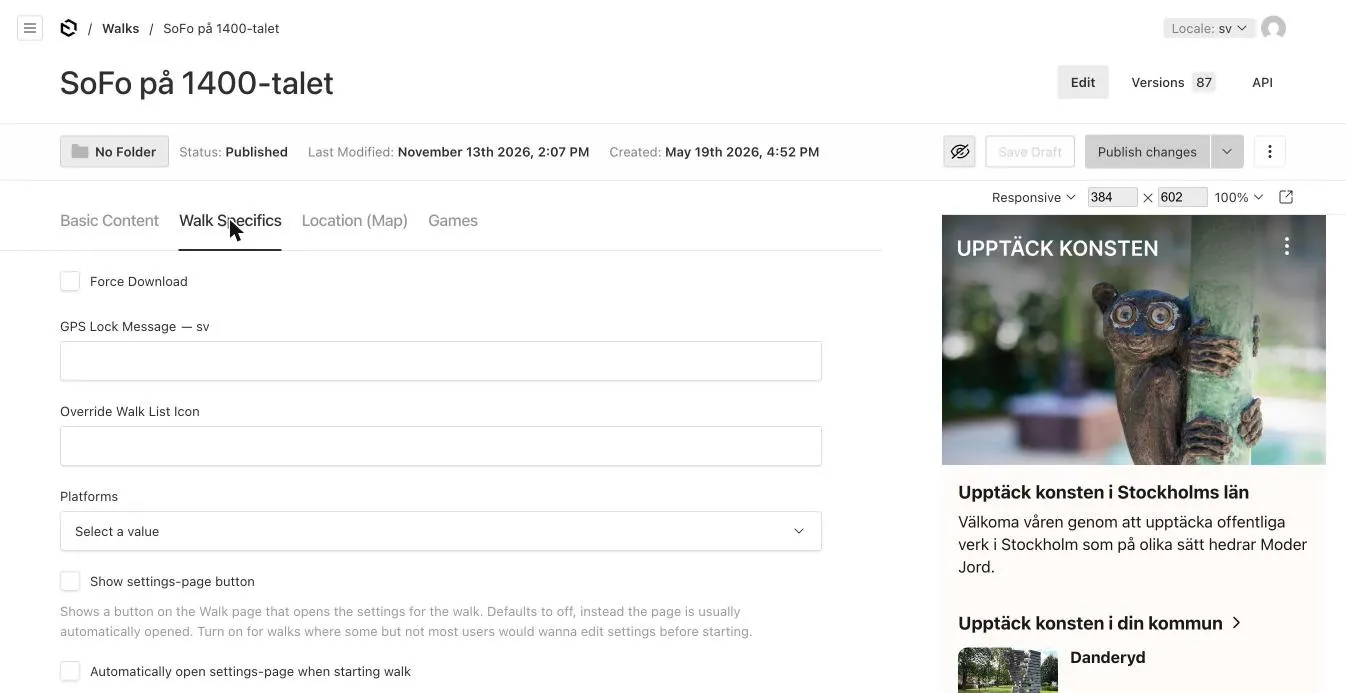
Adding stops
Section titled “Adding stops”Stops are linked on the Walk Specifics tab under Children → Locations.
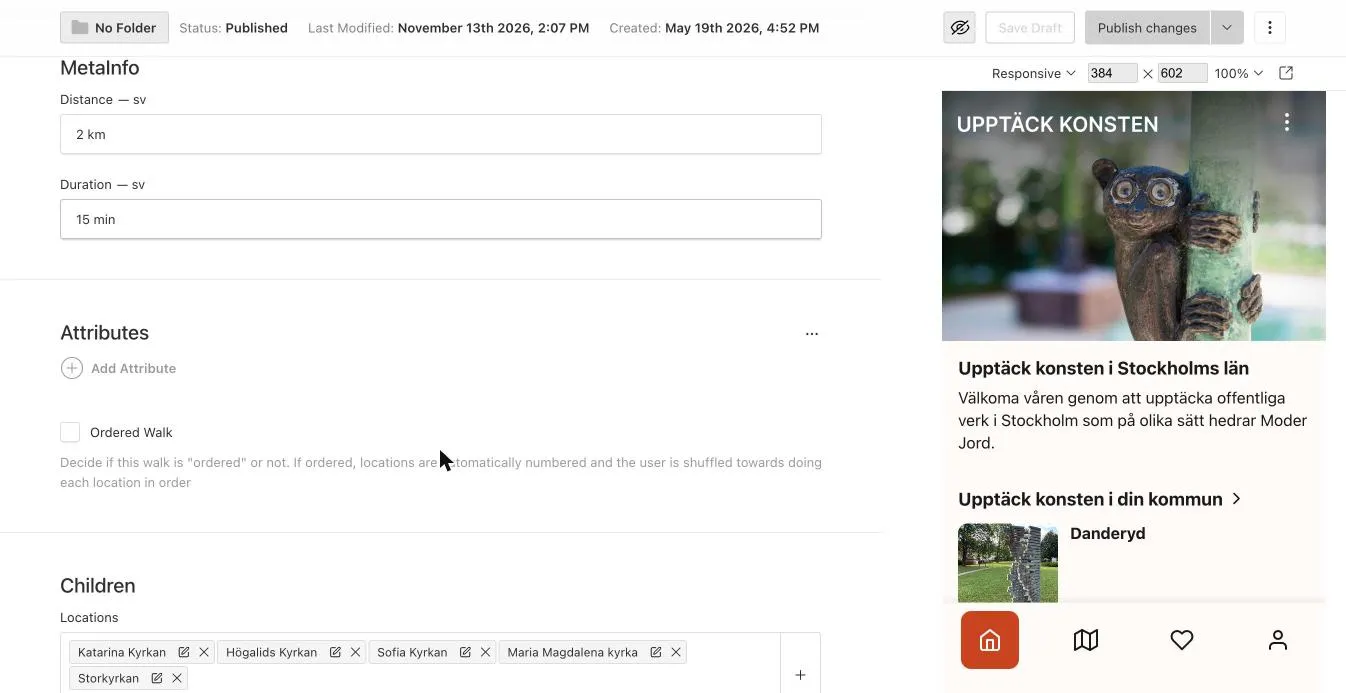
- Create a new stop directly: click + to the right of the field. A drawer opens where you fill in and save the stop – it’s linked automatically.
- Link an existing stop: click in the field and choose from the list.
- Edit a stop: click ✎ on the chip.
- Remove a stop from the walk: click ×. The stop remains under Locations and can be reused.
- Change the order: drag the chips. Stops appear in the app in the same order.
Remember to click Publish changes on the walk after changing its stops.
Ordered walk
Section titled “Ordered walk”Tick Ordered Walk (Walk Specifics) if the stops should be done in order. Stops are then numbered automatically and the visitor is guided to the next one. Great for treasure hunts, combined with the GPS settings.
Audio for the whole walk
Section titled “Audio for the whole walk”Under Basic Content → Audio the walk can have its own audio, e.g. an introduction. See Audio.
Show the walk in the app
Section titled “Show the walk in the app”A walk appears in the app only when it is published and linked to the app:
- Open Apps and choose your app.
- Content tab → Walks field – add the walk.
- Publish changes.
The walk then appears wherever the home page lists walks (e.g. a Walks List Block). See Pages.
Other settings
Section titled “Other settings”| Field (Walk Specifics) | Meaning |
|---|---|
| Force Download | The field still exists but doesn’t affect the GuideCore 7 app: the mobile app already downloads every image and video. See Offline. |
| GPS Lock Message | Text shown when audio is GPS-locked and the visitor isn’t on site. |
| Override Walk List Icon | Custom icon for the walk in lists. |
| Show settings-page button | Shows a button for the walk’s settings. |
| Automatically open settings-page when starting walk | Opens the settings automatically when the walk starts. |
| Attributes | Extra properties/links, used in special setups. |
| Field (Basic Content) | Meaning |
|---|---|
| Disabled Languages | Hide the walk for certain languages. |
| Display Preview | How the walk appears in lists and search: name, description and image. With Lock to original the value is taken from the walk automatically. |
Unpublish or delete
Section titled “Unpublish or delete”- Hide temporarily: open the walk, click ⋮ in the top right and choose Unpublish. The walk becomes a draft and disappears from the app.
- Copy: ⋮ → Duplicate creates a copy, e.g. as a template for a new walk.
- Delete permanently: ⋮ → Delete. The stops are not deleted.
See Preview and publish.
The walk doesn’t show in the app. Check that it’s published, linked to the app under Content → Walks, has the right Platforms and that the language is enabled.
A stop is missing. Check that the stop is published, linked under Children → Locations, and doesn’t have the language under Disabled Languages.
AI answers can be wrong – check the linked pages.